Github Actions自动化部署hugo到Github Pages
前言
最近计划把博客主题升级一下,由于在倒腾Github Actions,打算用它实现一下CICD。写完文章提交以后自动将hugo产出静态文件自动化部署到Github pages、Netlify、Vercel、Cloud flare Pages等 第三方平台,今天先记录Github pages自动化部署过程,这样就省很多事儿。
由于网站使用的Hugo静态网站生成器,涉及到敏感配置,我这里将Hugo的源代码放到私有仓库中,然后Hugo生成的前端静态页面放到Github公有仓库中,这样我们就需要准备两个Github仓库,然后通过私 有仓库中github actions实现CICD。
Github Actions 官方文档: https://docs.github.com/zh/actions
Github Pages 官方标准: https://pages.github.com/
Github Token配置
由于涉及到部署,这个过程中会用到认证,而Github提供了三种token认证方式:
- github_token
- deploy_key
- personal_token
其实在每个工作流中,github每次都会自动创建一个唯一的GITHUB_TOKEN密钥用于工作流的认证,GITHUB_TOKEN将在作业完成时或最多24小时后过期,这是一种临时认证策略。
注意: 由于我们这里涉及到跨仓库部署,所以github_token就无法使用了.
更多github_token可以参考:https://docs.github.com/actions/security-guides/automatic-token-authentication
personal_token 主要用个人账户生成token。
https://github.com/settings/tokens
对于deploy_token,主要是自己生成密钥对,将公钥附加到github仓库,自己存放私钥。
更多deploy_token参考:https://docs.github.com/en/authentication/connecting-to-github-with-ssh/managing-deploy-keys
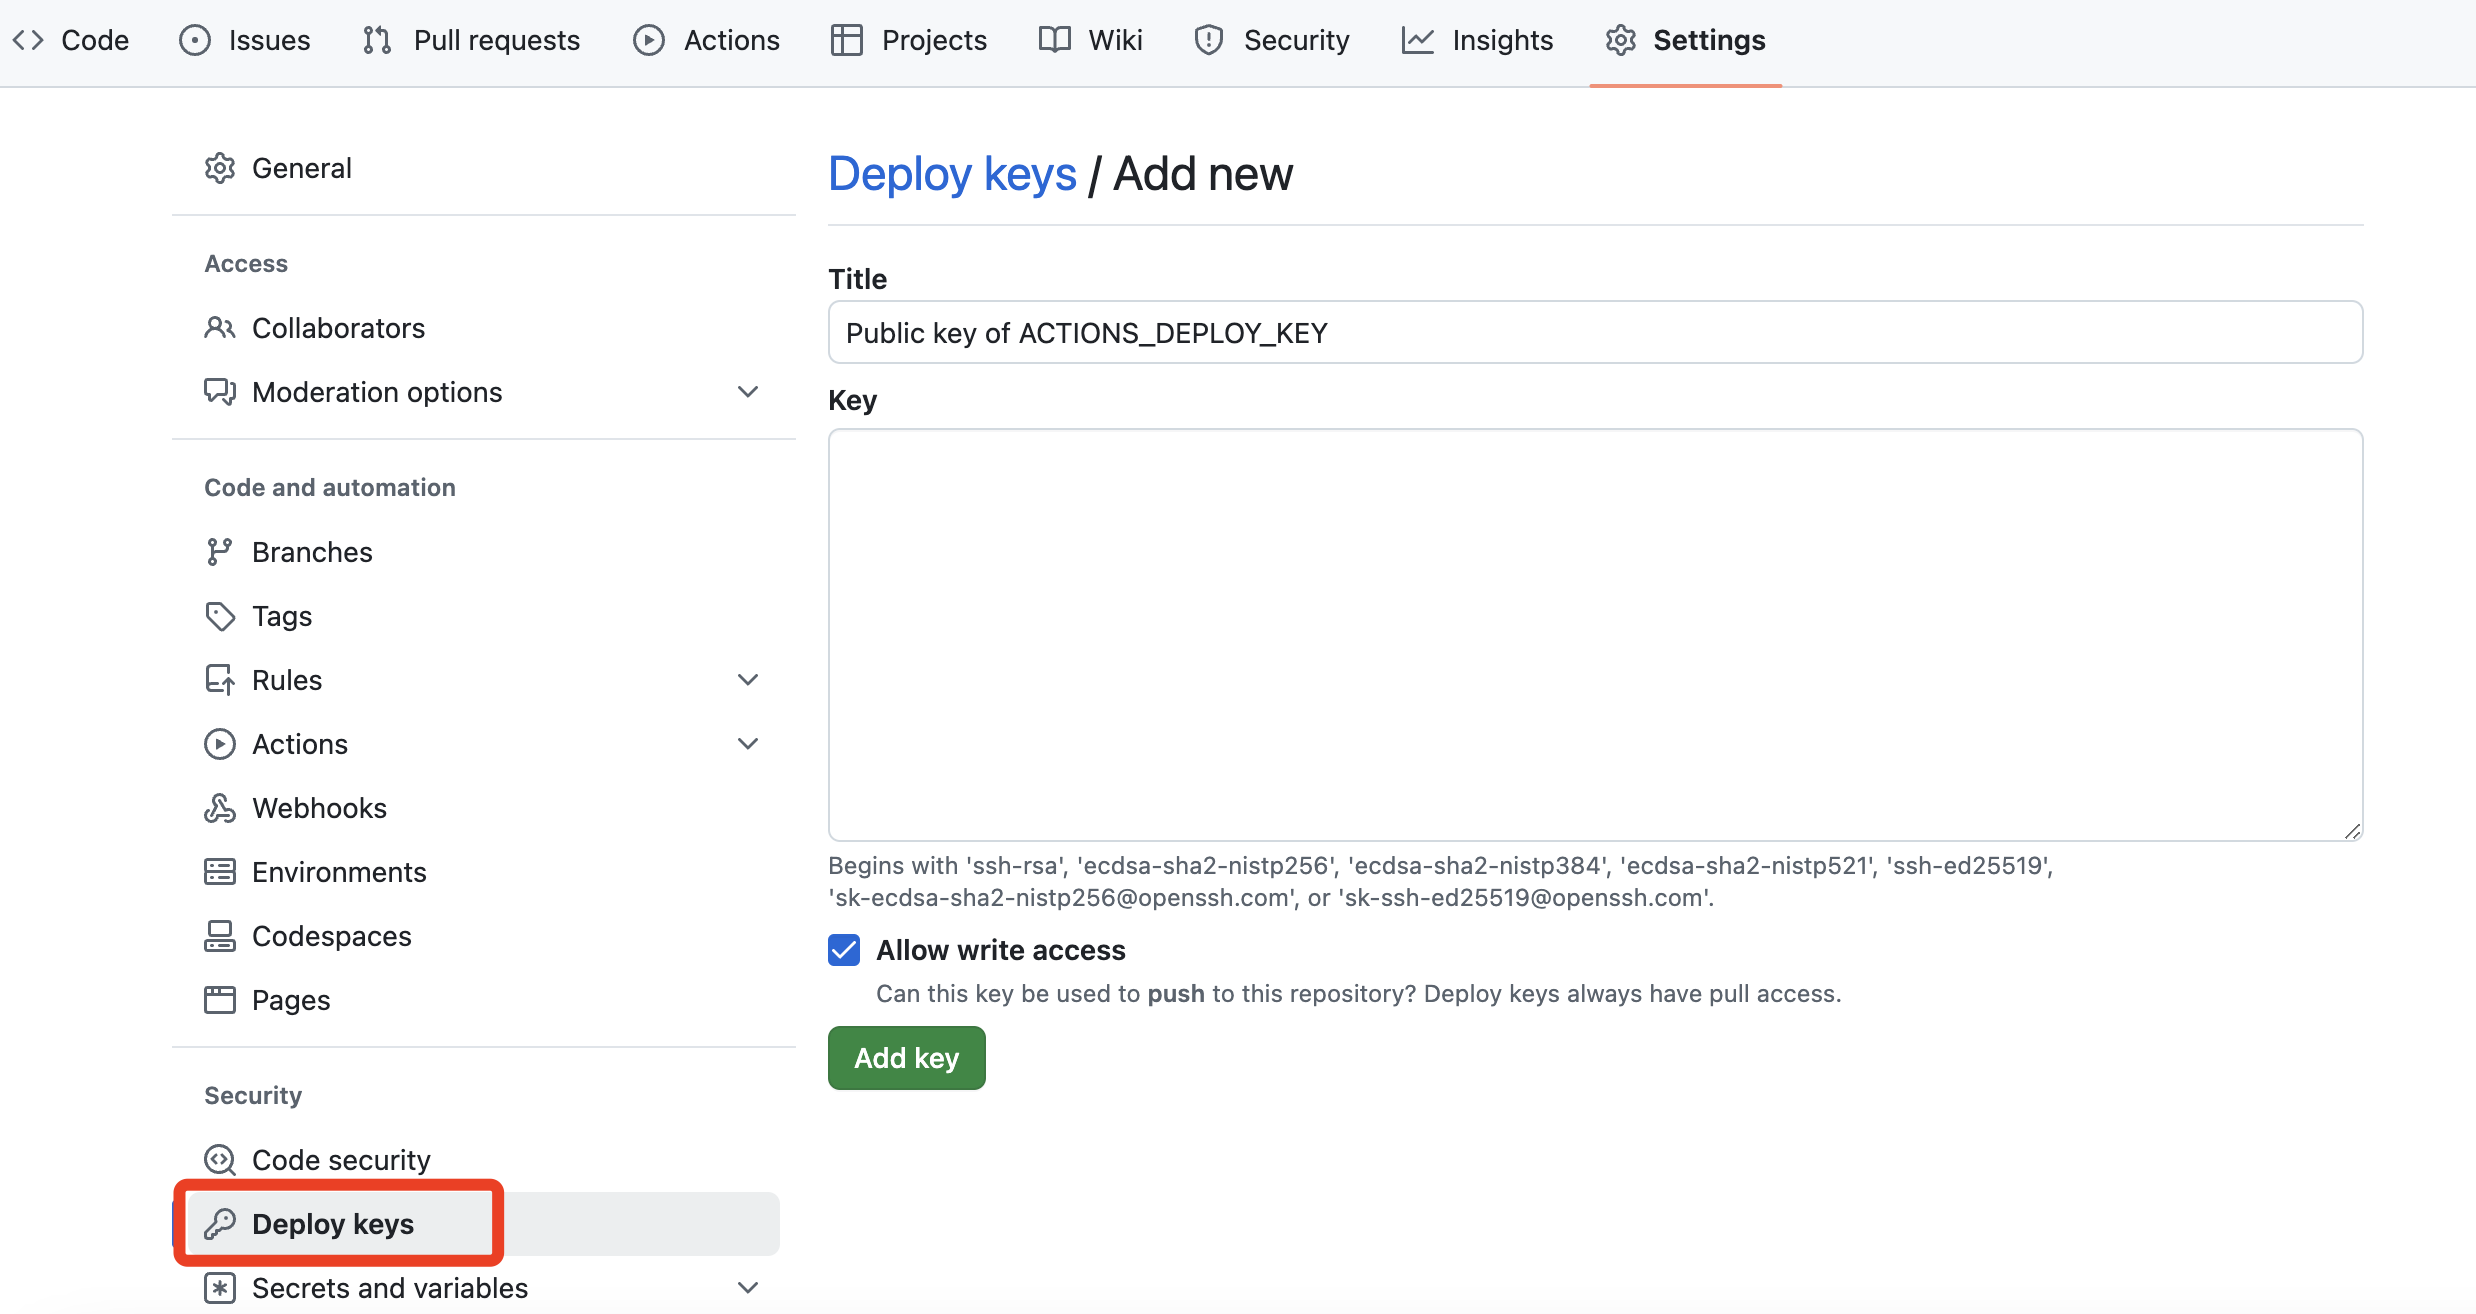
这里我们采用deploy_token方式认证,将公钥附加到公有仓库的deploy-token上,私钥附加到私有仓库的secret。
创建deploy_token
公有仓库wzdushu/wzdushu.github.io配置Deploy keys设置gh-pages-wzdushu.pub内容。
私有仓库创建secret,指定名称为:ACTIONS_DEPLOY_KEY 内容为gh-pages-wzdushu
Github Actions配置
私有仓库创建workflow,我这里路径为:.github/workflows/cicd.yml,编辑这个文件内容如下:
name: Deploy Hugo site to Pages

on:
  # Runs on pushes targeting the default branch
  push:
    branches: ["master"]

  # Allows you to run this workflow manually from the Actions tab
  workflow_dispatch:

# Sets permissions of the GITHUB_TOKEN to allow deployment to GitHub Pages
permissions:
  contents: read
  pages: write
  id-token: write

# Allow only one concurrent deployment, skipping runs queued between the run in-progress and latest queued.
# However, do NOT cancel in-progress runs as we want to allow these production deployments to complete.
concurrency:
  group: "pages"
  cancel-in-progress: false

# Default to bash
defaults:
  run:
    shell: bash

jobs:
  # Build job and Deploy hugo to pages
  build-deploy:
    runs-on: ubuntu-latest
    env:
      HUGO_VERSION: 0.121.0
    steps:
      - name: Install Hugo CLI
        run: |
          wget -O ${{ runner.temp }}/hugo.deb https://github.com/gohugoio/hugo/releases/download/v${HUGO_VERSION}/hugo_extended_${HUGO_VERSION}_linux-amd64.deb \
          && sudo dpkg -i ${{ runner.temp }}/hugo.deb

      - name: Install Dart Sass
        run: sudo snap install dart-sass

      - name: Checkout
        uses: actions/checkout@v4
        with:
          submodules: recursive

      - name: Build with Hugo
        env:
          HUGO_CACHEDIR: ${{ runner.temp }}/hugo_cache
          HUGO_ENVIRONMENT: production
        run: |
          hugo \
            --minify \
            --baseURL "${{ steps.pages.outputs.base_url }}/"

      - name: Upload artifact
        uses: actions/upload-pages-artifact@v2
        with:
          path: ./public

      - name: Deploy to GitHub Pages
        uses: peaceiris/actions-gh-pages@v4
        with:
          deploy_key: ${{ secrets.ACTIONS_DEPLOY_KEY }}
          external_repository: wzdushu/wzdushu.github.io
          publish_dir: ./public
          publish_branch: master
          cname: wnote.com
          commit_message: ${{ github.event.head_commit.message }}
on 这里有三种触发方式:
- push:git push 推送时执行。
- workflow_dispatch:项目仓库的 Actions 手动执行。
- schedule:定时执行
由于这里hugo主题新版本依赖Sass,所以这里需要安装,非每个人必须。
这里部署没有使用官方actions,采用了开源的peaceiris/actions-gh-pages,主要是这个仓库对Hugo、MkDocs、Gatsby、mdBook、Next、Nuxt等比较友好。
其他配置可以参考github actions官方文档,不再一一说明。
执行部署
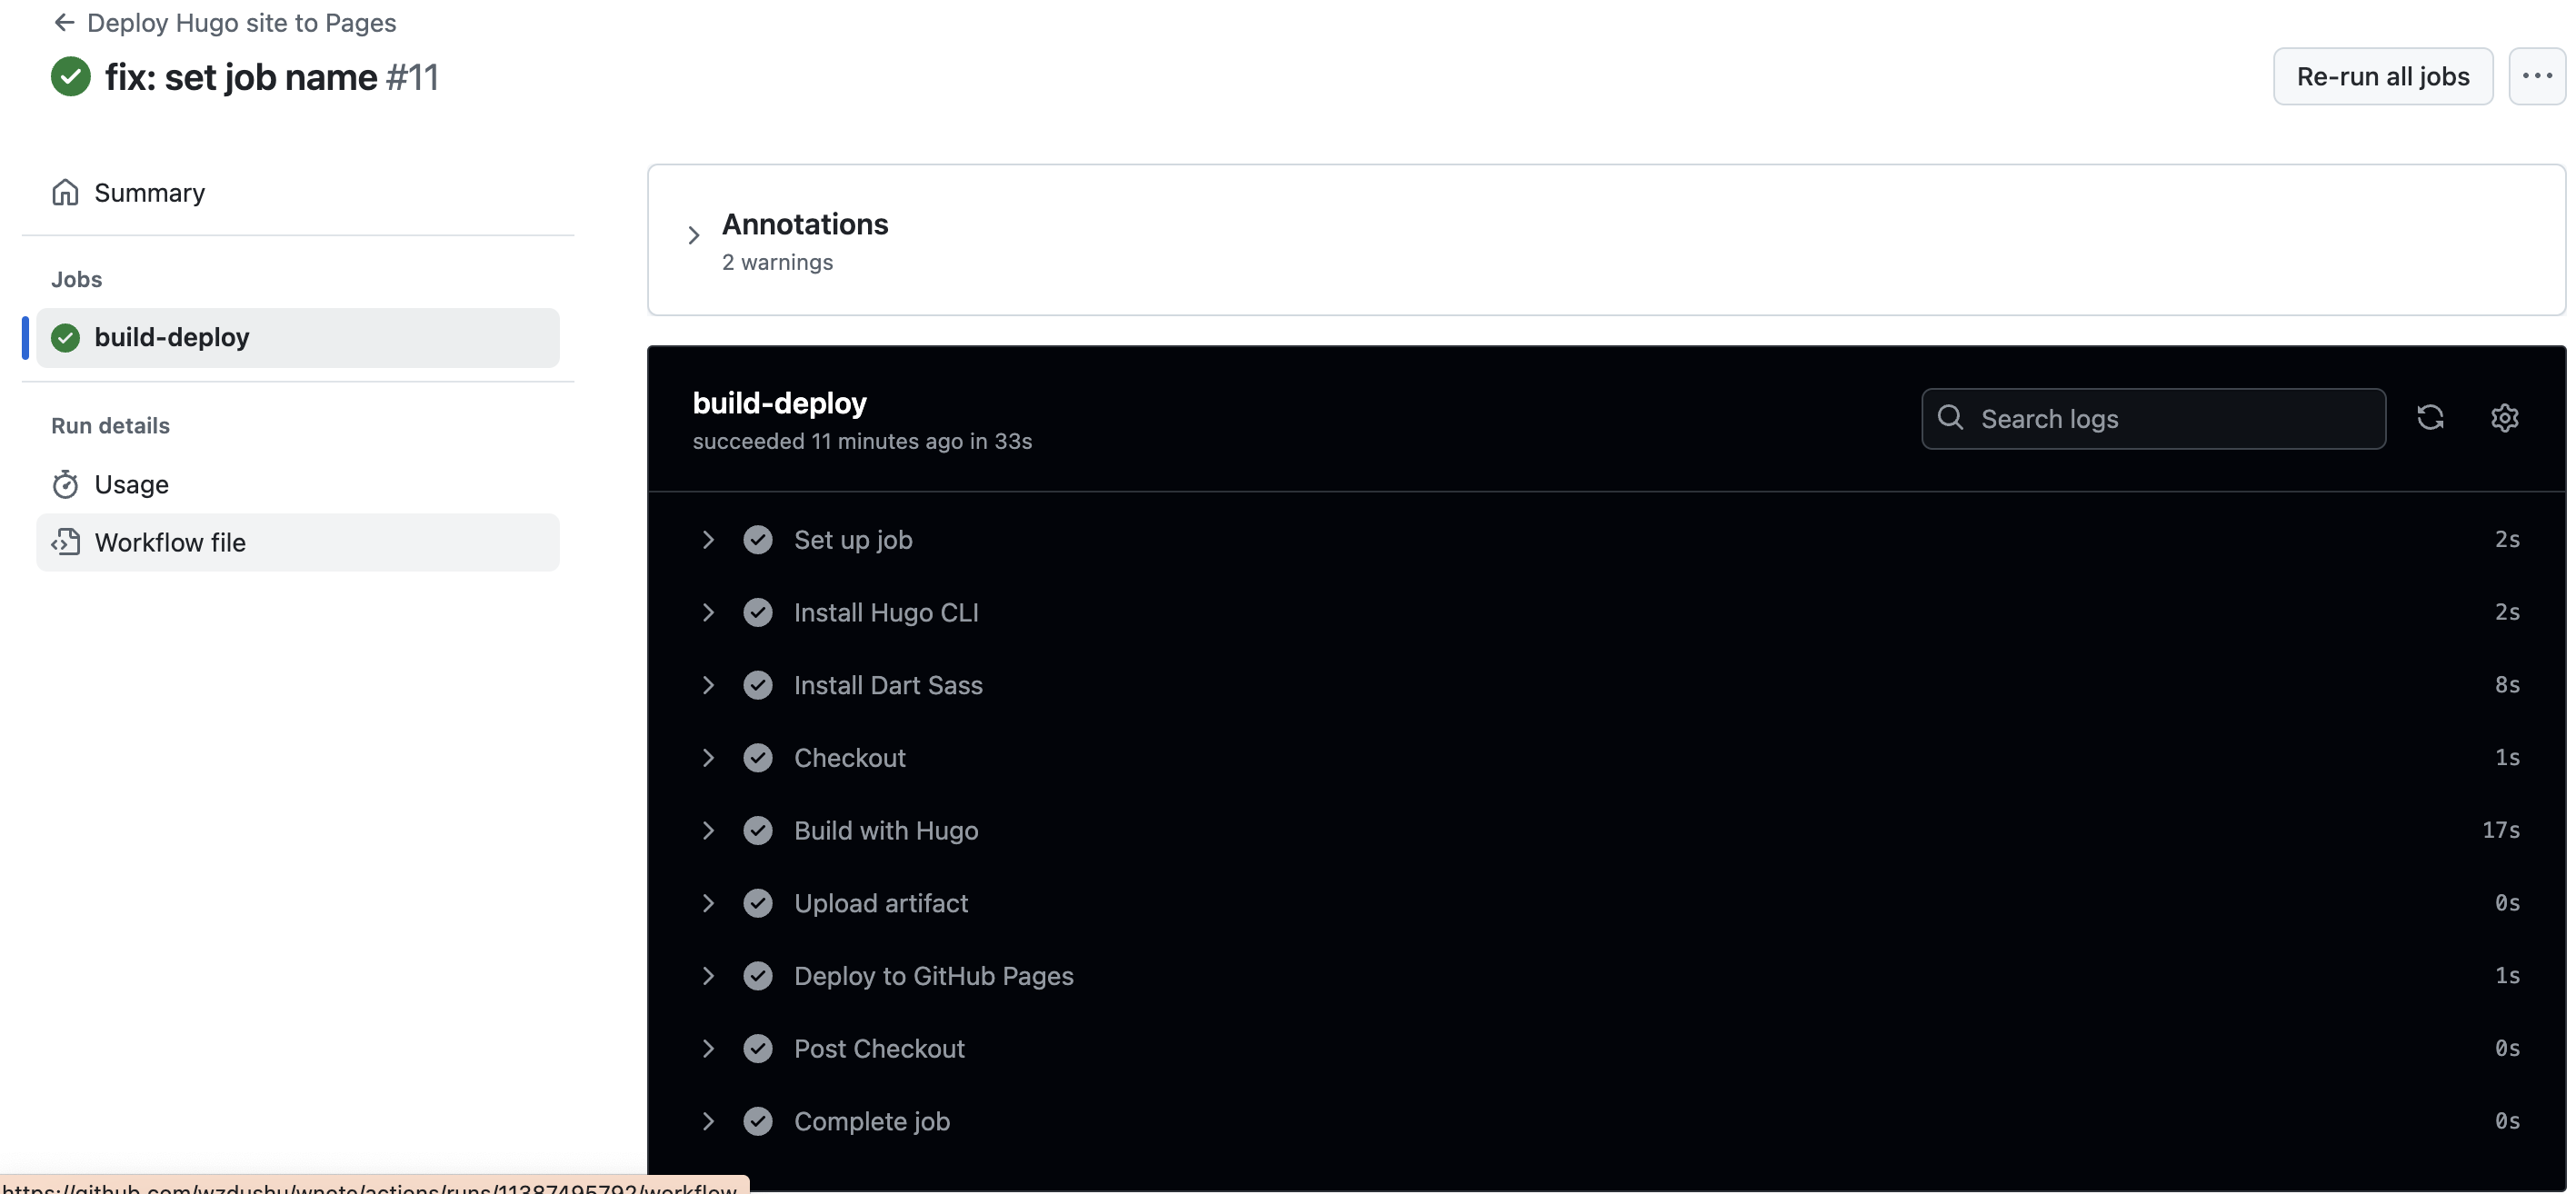
后面,我们就开心的像往常一样,写完文章提交到Github上,通过触发GitHub Actions 执行生成静态文件推送到GitHub Pages,剩下的时间就喝一杯咖啡让等它干完活了。
总结:对于Github actions自动化部署的功能,不仅仅局限于今天用来部署静态页面,对于实际项目和生产环境中,往往会将应用部署到k8s集群或者一些其他PAAS平台,比如阿里云ACK、AWS的EKS、Azure 的AKS等等,当然类似Jenkins或者Gitlab CI的其他功能,Github Actions也是一点不少。